Table of contents
In the previous blog, I showed the demo to host a Virtual Machine on the Microsoft Azure cloud platform. In this part, I will show the demo to deploy an Elastic Compute Cloud (EC2) Instance on the renowned cloud platform i.e. Amazon Web Services (AWS).
Refer to my previous blog for creating an account on AWS and also if you want to deploy the virtual machine on Microsoft Azure - Virtual Machine on Cloud (hashnode.dev)
About AWS
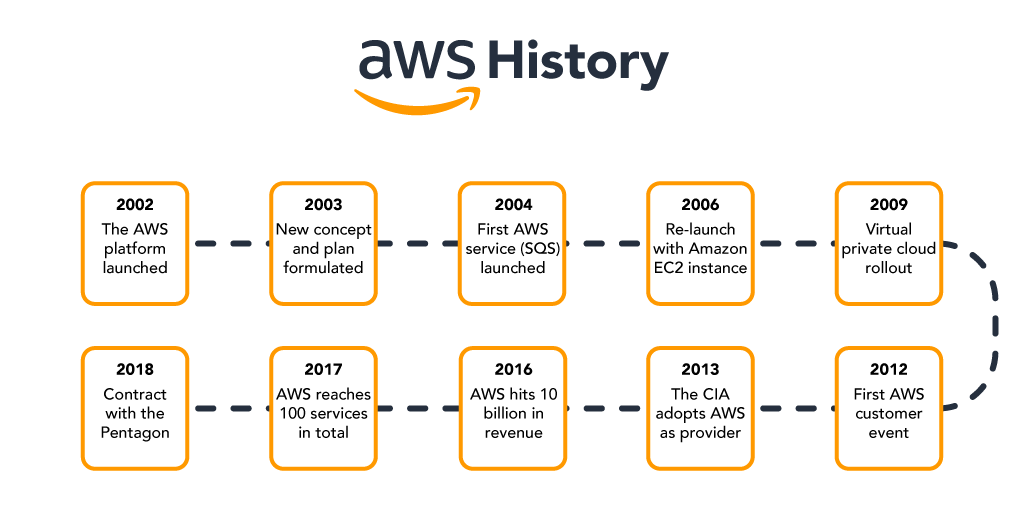
The Amazon Web Services (AWS) platform provides more than 200 fully featured services from data centers located all over the world and is the world's most comprehensive cloud platform.
Amazon web service is an online platform that provides scalable and cost-effective cloud computing solutions.

Hosting a Linux Instance on AWS
Prerequisite:
Creation of an AWS account
Download PuTTY - Download PuTTY - a free SSH and telnet client for Windows
Step 1 - After creating an account on AWS, the interface will look something like this

Step 2 - Search for "EC2" using the AWS search bar

Step 3 - Click on the "Launch Instance" button and give a name to your instance "PracticeEC2".

Step 4 - Select the Amazon Machine Image (AMI) or the preferred Operating System, I selected "Ubuntu Server 22.04" which is eligible for Free Tier.

Step 5 - Select the Instance type, I recommend not changing the default Instance type to "t2.micro" which is eligible for Free Tier.

Step 6 - Now click on "Create a new Key Pair" to connect with the instance. A popup screen will appear to enter the keypair name as "PracticeEC2", select the private key file format to (.ppk) for use with PuTTY and click on "Create Key Pair". The new private key with .ppk file format will downloaded in your system (KEEP IT SAFE).

Step 7 - Keep the default settings in the "Networking" menu.

Step 8 - Expand the volume 1 tab and make sure that the "Delete on Termination" is "YES".
Step 9 - At last, Click on the "Launch Instance" button. After successfully launching the instance, go to the "EC2 Management Console" & make sure that the instance state is "Running". The new Instance ID will be generated.

Step 10 - After launching the instance, open PuTTY, and the interface will look like this.

Step 11 - Copy the Public IPV4 address of the EC2 instance and paste it into the "Host Name" field in PuTTY.


Step 12 - Now expand the SSH tab, expand the Auth tab select "Credentials" from the menu, and browse the Private Key downloaded earlier.

Step 13 - Now click on the "Open" button and "Accept" the connection request. After accepting the request login as "ubuntu" user which is the default user for AWS UBUNTU AMI. Your AWS EC2 instance is now up and running, you can verify with the Private IPV4 address mentioned in the EC2 console.

Step 14 - After playing with the EC2 instance, type the "exit" command and click on Instance State to "SHUTDOWN" it from the EC2 console. (MOST IMPORTANT STEP)

Step 15 - Your EC2 instance will be successfully terminated and you will not be charged.

And that's a wrap. This is how we can host and deploy our EC2 instance on AWS and play with it. Do explore more with this.
Stay tuned for upcoming blogs. Happy Learning 🚀
